Interior Painting Tips for a Clean, Professional Finish
A clean interior paint job changes how a room feels every single day. Crisp lines, smooth walls, and even color make a space look finished, not just freshly painted. When the paint looks streaky, patchy, or messy around the edges, it can make an otherwise nice room feel a bit off.
At Four Rivers Construction, we see a lot of projects in Tacoma and around Pierce County where the color choice is great, but the finish misses the mark. The truth is, a professional look is less about fancy tools and more about good prep, smart planning, and the right steps in the right order. Whether you end up hiring handyman services or doing part of the work yourself, understanding the process will help you get a better result.
Plan Your Paint Job Before You Open the Can
Strong results start with clear decisions. Before anyone tapes a wall or shakes a can, it helps to think through color, sheen, and how the room is used.
Light colors usually make rooms feel bigger and brighter. Darker colors can make a space feel smaller but also cozy and dramatic. Warm tones, like soft beiges and warm grays, work well in living rooms and family spaces. Cooler tones, like gentle blues and greens, tend to feel calm in bedrooms and bathrooms.
The sheen matters just as much as the color:
Flat or matte works well on ceilings and low-traffic walls
Eggshell and satin are popular in living rooms, hallways, and bedrooms
Semi-gloss is common on trim, doors, and sometimes kitchens and baths
High-gloss is usually for special details, not full walls
We always look at how a room is used before we recommend a sheen. A hallway with kids and pets needs a more washable finish than a quiet guest room.
It also helps to plan how much paint you need. Many people guess and end up making extra trips to the store. A simple approach is to measure the room, check the coverage on the can, and remember that two thinner coats usually give a better finish than one heavy coat. If you work with handyman services, they can help estimate what is needed so you are not stuck with way too much or not enough.
Prep Like a Pro for Smoother Walls
Most of the “wow” in a paint job comes from work that happens before you ever roll color on the walls. We often say that 70 to 80 percent of a professional finish is preparation.
Start by cleaning. Walls collect grease, dust, and fingerprints, even if they look fine at a glance. A mild detergent or TSP substitute and warm water can make a big difference. Once the walls are dry, lightly scuff glossy areas with sandpaper so the new paint has something to grip.
Then deal with imperfections. For small nail holes and dings, spackle or joint compound works well. Let it dry, then sand it smooth so you cannot feel the edge. For bigger cracks or damaged spots, you may need a patch kit or mesh tape to keep the repair from showing. When problems are larger or keep coming back, it is often smarter to bring in a contractor or handyman services team to address the real cause instead of just covering it.
Protecting the room also matters:
Use canvas drop cloths on floors so drips do not spread
Move furniture away from walls or out of the room when possible
Remove outlet and switch covers instead of painting around them
Tape off trim, windows, and hardware that should stay clean
Spending time on masking and protection might feel slow at first, but it saves a lot of time later and keeps the finish sharp.
Prime Smartly for Better Color and Sheen
Primer is not always the star of the show, but it decides how smooth and even the final color looks. In some cases, you can skip it. In many, you should not.
Primer is usually non-negotiable on:
New drywall
Big color changes, especially dark to light
Walls with water stains, smoke, or heavy marks
Areas with multiple patches or repairs
Without primer, you can get uneven sheen, called “flashing,” where patches look dull and the rest of the wall looks shiny. Stains can also bleed through and show up again after the paint dries. A stain-blocking primer helps with smoke or water marks that would otherwise keep coming back.
There are different kinds of primers, such as latex and oil-based options. Some bond better to slick or glossy surfaces. If you are not sure what is on your walls now, a quick check with trained handyman services can prevent peeling or adhesion issues later.
You can spot-prime small repaired areas if the rest of the wall is sound. If there are a lot of patches or stains, a full coat of primer gives a more even base. Lightly sanding the primed surface before painting can make walls feel very smooth to the touch.
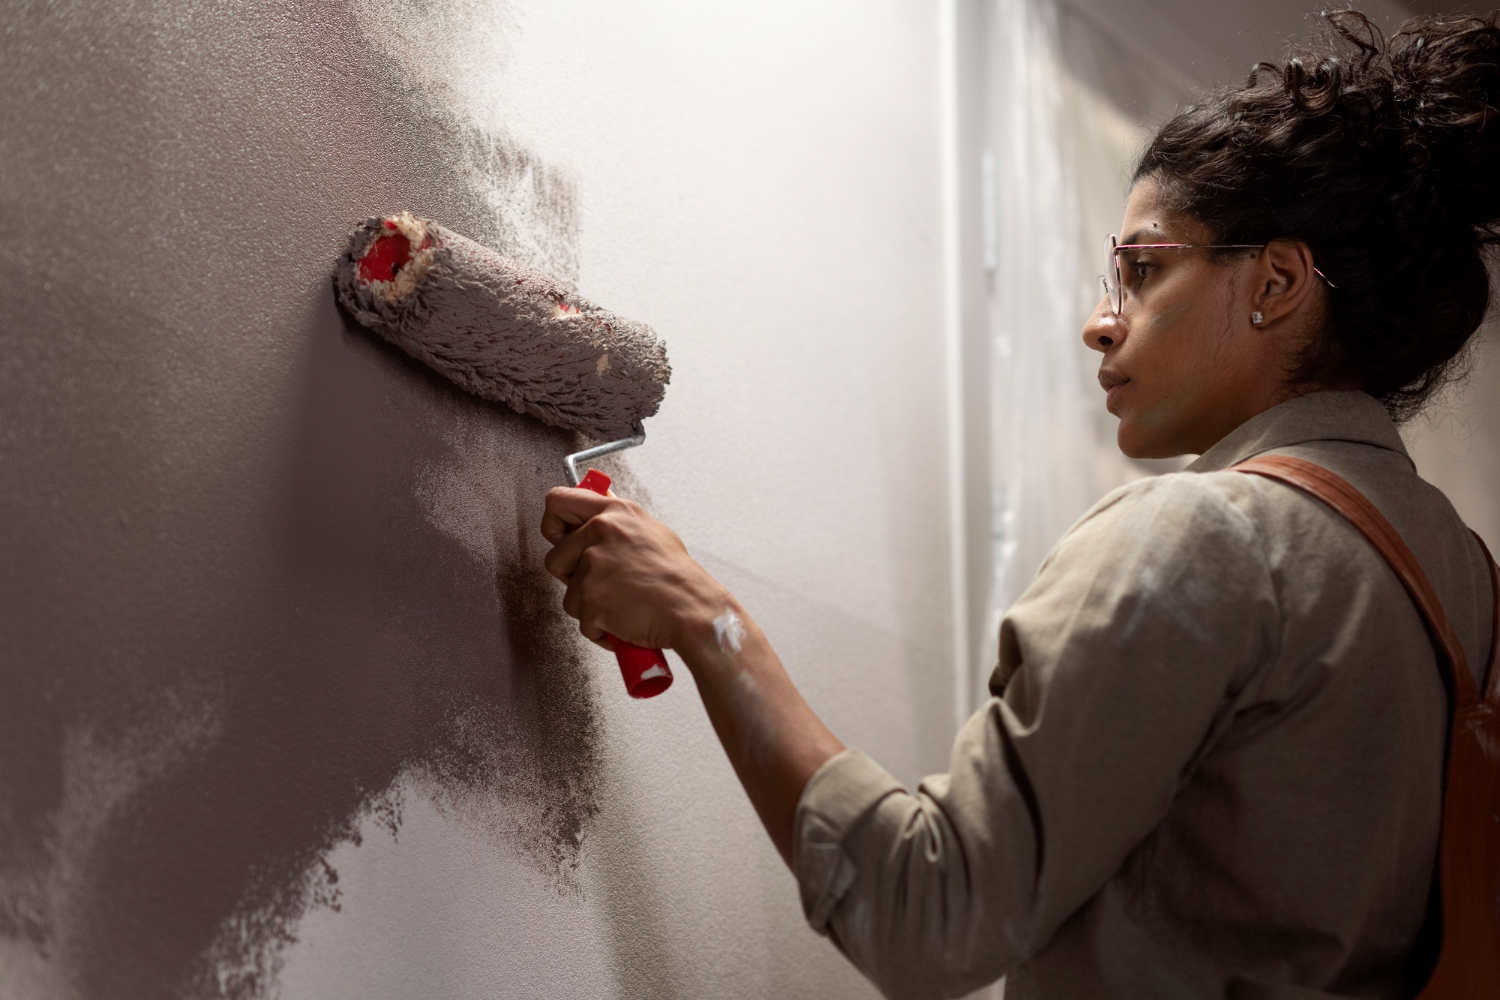
Tools, Technique, and Common Painting Mistakes
Even with great prep, the tools and technique still matter. Pros do not usually skimp on brushes and rollers, because that is what controls the finish. Angled sash brushes make it easier to cut in along ceilings, corners, and trim. The roller cover, or “nap,” should match the wall texture. Use a short nap for smooth walls and a thicker nap for textured surfaces.
For cutting in, work in small sections. Hold the brush at a slight angle, do not overload it, and keep a wet edge so the brush strokes blend with the roller. Many people who are not comfortable with this detail work decide to handle basic rolling and let handyman services handle the tight edges, built-ins, and trim.
When rolling, a simple “W” or “M” pattern helps spread the paint evenly. Then you fill in without pressing too hard on the roller. Too much pressure leaves roller lines and an uneven look. Two lighter coats usually level out better, cover more evenly, and resist peeling.
Some common mistakes that ruin a clean finish include:
Rushing dry times and recoats
Painting in extreme humidity or cold rooms
Ignoring runs, drips, or lint until everything is dry
Skipping the final walk-through under different lighting
Good lighting reveals a lot. We like to check walls in both natural and artificial light to catch missed spots, roller marks, or small bumps. Light sanding between coats on rough spots helps the final coat look smoother.
Trim, doors, and other details are another place where DIY often falls short. If the walls look nice but the trim is messy, the whole room can feel unfinished. Using painter’s tape carefully, and removing it while the paint is slightly tacky instead of fully cured, helps keep lines crisp without peeling off chunks of paint.
Deciding When to Call in Professional Help
Some projects are realistic for many homeowners, especially standard rooms with normal ceiling heights, few repairs, and simple color changes. People who already own basic tools and are ready to spend real time on prep often do fine on these spaces.
Other projects are better handled by professionals. High ceilings, stairwells, older homes where lead paint might be present, or rooms with major drywall damage are all situations where safety, skill, and the right equipment matter. Whole-home color changes or tight timelines also point toward calling in help so the work is done efficiently and consistently.
At Four Rivers Construction, we are a Tacoma-based contractor that works on home remodeling, additions, new construction, and handyman services throughout Pierce County and nearby areas. Whether someone needs help with interior painting as part of a larger remodel, a one-room refresh, or tricky repairs that need more than a quick patch, we focus on clean, professional finishes that feel good to live with every day.
Get Reliable Help For Your Home Projects Today
If you are ready to cross repairs and upgrades off your list, our team at Four Rivers Construction is here to help with professional handyman services tailored to your home. We listen, explain your options clearly, and complete the work with respect for your time and property. Whether you know exactly what you need or just want expert guidance, we will walk you through the next steps. Have a project in mind or a repair that cannot wait? Contact us to get started.
